Bolts used to
assemble the cooker.

To assemble the
base, use bolts B.


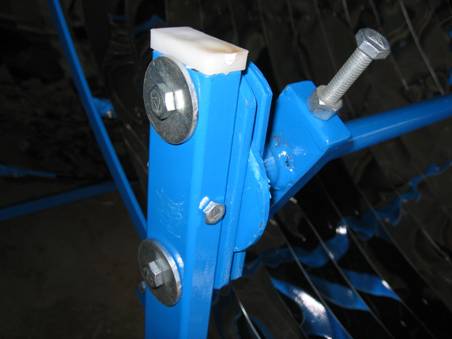
Details of assembly
and the vertical post in which it has to be fitted. The bolt in the round tube
is C. The other 2 bolts are D.


Other side of
horizontal round tube and the vertical post in which it has to be fitted.
The bolt in the
round tube is C. The purpose of the vertical bolts (A) is to adjust focus.


More details.


Attaching the
reflective panels. The metal ties are bent in order to avoid injuries from the
sharp ends.

Putting the rubber
protection on both outside sides of the reflective panel.

The castor wheels
come with 2 metal plates. With the screws provided, it is not possible to
insert the 2 metal plates (the screws are not long enough). You have 2 options,
one is to get longer screws. The second one, as shown below, is to put only one
metal plate ; but in that case it is recommanded not to tighten the nuts
too much, otherwise you might slighlty bend the bottom part and the wheels will
not move as easily.

The cooker is fully
assembled. The castor wheels are in place.
